In the end, there’s always the freezer…
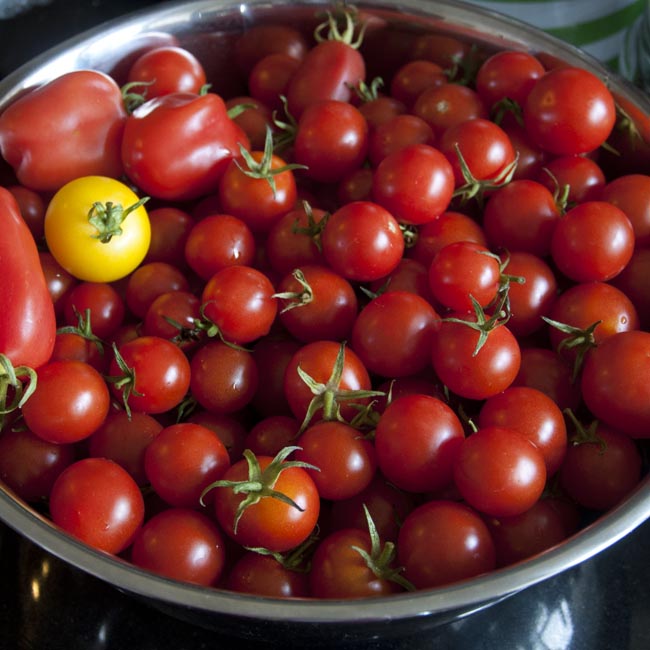
At the end of October, I had the last few bowls of tomatoes I hadn’t managed to preserve, eat, or give away, and we were on our way to Cornwall for a week. They weren’t going to survive until our return, so it was time for desperate measures.
Freezing is a great food preservation technique – maintaining all the freshness and nutritional value of your home-grown fruit and vegetables. This comes at some cost to texture, undoubtedly, but usually in ways that are irrelevant if you’re going to cook the veggies anyway. Preparation is generally quick and straightforward – certainly compared to preserving, bottling or pickling. Of course the limiting factor is always the space available in the freezer, which for me, despite the obvious advantages, tends to make freezing my preserving technique of last resort.
 I needed to get these tomatoes stored with as little faff as possible – I had a holiday to get started! – so I chose the simplest of all solutions.
Wash your tomatoes and discard any which are spoiled, trimming any minor damage. Remove their little green hats. Then, a batch at a time, just pulse them very quickly in a food processor enough to break them up.
 You’re not trying to reduce them to pulp, just roughly chop to release enough juice that they will freeze as a solid ‘brick’ of tomato flesh and juice.
This leaves the skins and seeds in, which I know some will disapprove of. Personally I struggle to be offended by tomato skins – really, life’s too short to be peeling tomatoes! You will hear that chopping tomatoes in a food processor will break up the seeds and release a bitter flavour – while this may be the case if you’re trying to blend to a smooth texture, I’m pretty sure hardly any of seeds are damaged with such a short chop.
 Decide on your freezing volume – I chose to freeze these a pint at a time, in retrospect that was too much for us, since I’m usually just cooking for me and Hubby, and when I do this again in future I will probably freeze at least some in half-pint volumes for greater convenience.
Bag up your tomatoes, excluding all the air when you seal the bag, label the bags and tuck away in the deep freeze until you need them.

You can use these for more or less anything, to be honest. Allow them to thaw out, and use them in place of fresh tomatoes, for example in the recipe for roasted tomatoes with chicken and pasta. Passed through a mouli, you have a batch of fresh passata ready to go straight away – and thus remove the skins and seeds, if they offend your delicate sensibilities! You can also use them directly as a substitute for chopped tinned tomatoes in chillies and pasta sauces – I used some in the puttanesca sauce I made recently, and they were excellent. I can’t however recommend trying to eat them raw – the texture is altered by freezing and while the flavour is lovely and fresh, it would be a bit like putting tinned tomatoes in your salad!

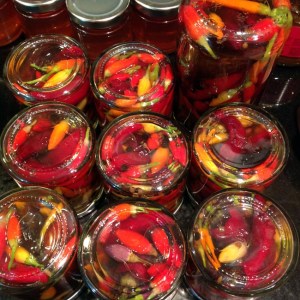
Well, folks, that’s it for last year’s tomato glut (I know, I know…)! It’s taken me a while to finish writing these posts up – hopefully they’ll be of use to my Southern hemisphere readers pretty soon, at least! But I still have jars and bottles of passata, tomato and chilli chutney, and green tomato chutney in the larder, ‘sun dried’ tomatoes in a jar in the kitchen, and a couple more bags of frozen tomatoes in the freezer. Even in the depths of winter, I can enjoy my summer’s produce, a genuine taste of bottled sunshine, and that makes it all utterly worthwhile!